Oh, what you can do with a good sale and some free stuff! Times are still tough, and I constantly find myself in need of a healthy, delicious, and satisfying meal on the cheap, the real cheap. But, I honestly have a hard time sacrificing quality for price. I struggle with it throughout nearly every visit to the market. So when I find something like gorgeous, lean, slabs of london broil (in reality it’s a preparation, not a cut, but we all know it as the latter), for less than three dollars per pound, I get excited, I can’t help it. The promise of an awesome steak dinner that’s not only easy, but affordable, and quick, just lights my fire. Not only that, a few weeks ago, my buddies over at FoodBuzz sent me an unbelievably generous package of Emeril Brand goodies, for free! I was siked to be able to use his Steak Rub on a blogworthy dish and I was definitely not disappointed in the product. Now to the sharing:
Ingredients
Fresh Rosemary (dried would actually work too)
Fresh Garlic
Butter, softened
London Broil Roast (any cut with this label will do)
Steak Seasoning (again, I used Emeril’s Steak Rub)
Kosher Salt
Freshly Ground Black Pepper
Red Wine (as long as it’s not “cooking wine” you’re in good shape)
Process
Okay, the first thing you want to do is gather the ingredients for the Rosemary Garlic Butter. You’ll need the garlic, rosemary, and of course, the butter (make sure you take this out in advance, or you will have to nuke it like I did, and risk getting it a little too soft, like I also did:)).
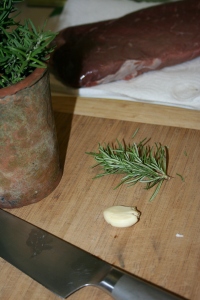 Now, finely chop the rosemary and use a Microplane or finely mince the garlic. Toss them both in the bowl with the softened butter.
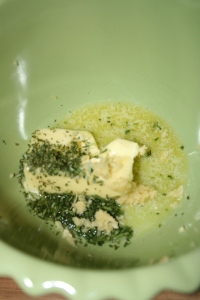 Now, get crazy with a fork or a rubber spatula and mash it, smash it, and mix it all around.
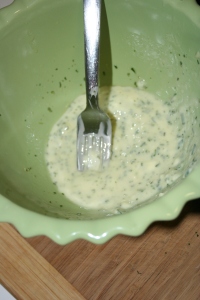 If like mine, your butter got a little melted, you want to pop it in the fridge now. It should be a spreadable consistency. Now, for the MEAT! Grab your roast and use a paper towel to pat off any excess moisture.
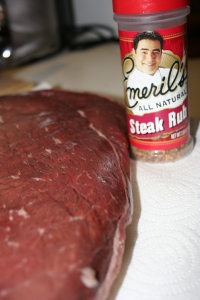 Then, liberally (and I mean liberally, the beef needs it) season the roast with salt, pepper, and steak seasoning. Remember to do both sides, we don’t want meat with flavor on one side, it’s just not right.
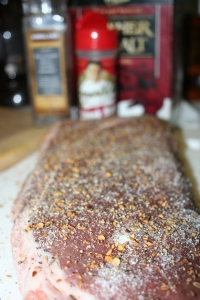 Now it’s time to turn your broiler on. I use mine on high, which is about 500 degrees. Before it gets hot though, grab the pan out of it. If yours doesn’t have a pan, find a flat baking dish that will fit in the broiler. This next step is kind of messy, so if you’re squeamish about this kind of thing you can put gloves on, but for me, they really just get in the way. Reserve a couple tablespoons of the butter, then put half of what remains onto the top side of your roast.
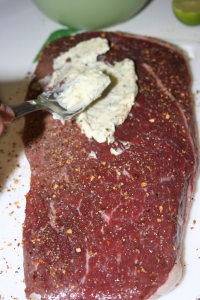 Dig your hands in and rub the butter into the meat. The surface should be completely covered in the butter mixture.
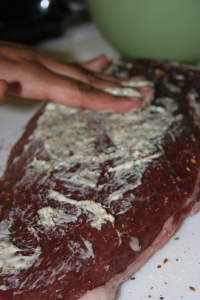 Transfer the meat to your broiler pan (or baking dish), buttered side down, then butter the rest of the steak.
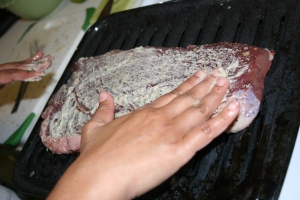 Now, pop the whole pan into the heated broiler. For a roast about this thick, it will take about seven to eight minutes on each side to cook to medium. While the meat cooks, you can make a nice red wine reduction sauce. Grab a small sauce pan and add about a cup of wine (if you are serving more than 2-3 people you will need more).
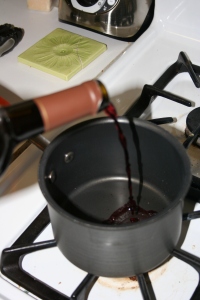 Bring the wine to a boil, over high heat. When it has reduced by half, add your reserved butter.
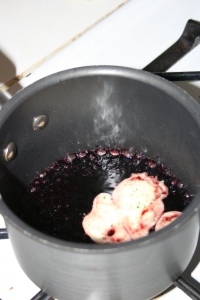
Stir in the butter, lower the heat, and continue to cook until butter is melted in. Then, remove from heat. When the steak is cooked to your liking, remove it from the oven and allow to rest. This is very, very important or your meat will be dry. I usually give london broil about 10 minutes, but the bigger it is, the longer it needs.
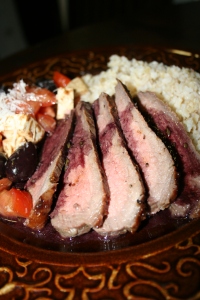
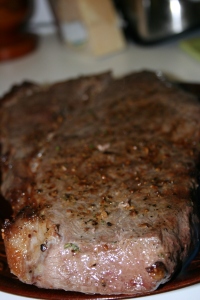 To serve, slice thinly, against the grain.
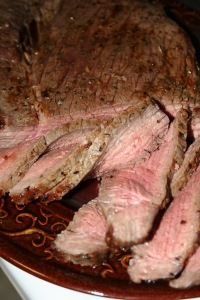 Can you say delicious? Especially when served up with brown rice and a tomato, mozzarella, and kalamata salad… HMM, HMM Good. ENJOY!


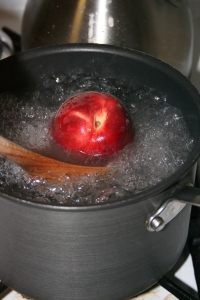
 Gently drop each peach into the water and return to a boil.

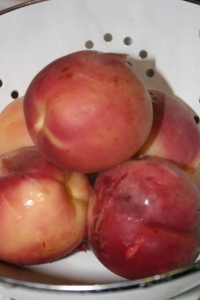 Run some cold water over the peaches to cool them off before you handle them.
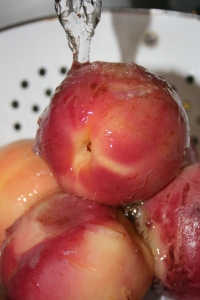 Then, with a pairing knife or just your hands (in the end, I ended up using my hands, it’s considerably easier), rub off the skin.
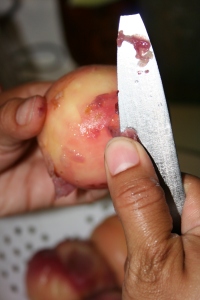 Repeat the process until all of the peaches are skin-free.
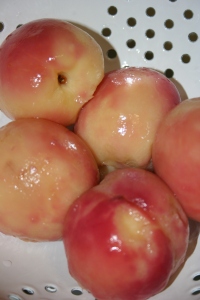 Next, cut the flesh off of each peach. I did this by scoring a grid pattern into them with my knife.
 Then, scrape the segments back into the colander ( I recommend you place a couple paper towels under the bowl so the juices don’t run all over your counter).
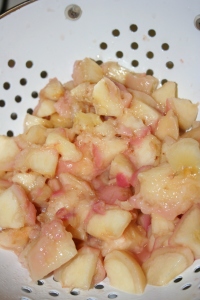 Pour the cut peaches into your blender.
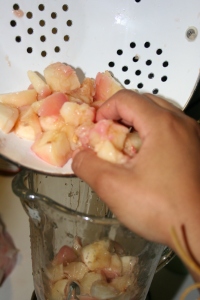 Pulse on high until the peaches are about the texture of a smoothie.
 Pour into a bowl and place in the refrigerator. Now you are over the hump. This may seem like a long process, but it really only takes minutes. Next, you are going to make the ice cream base. For this recipe, I used a sweet cream custard base, you could use vanilla, but I didn’t want it to overpower the main flavors of peach and honey. Start by cracking two eggs into a bowl.
 With a whisk and some elbow grease, beat the eggs until they are frothy and lighter in color.
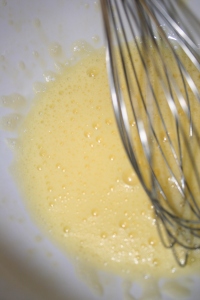 Now whisk in a little less than half a cup of sugar.
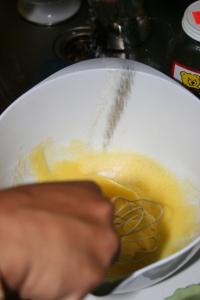 Next add a little less than half a cup of honey (you want about 3/4 cup of sweeteners total, but taste it and see how you like it).
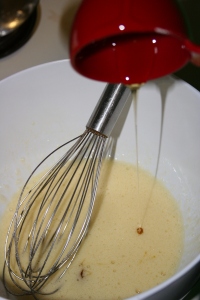 Whisk well to incorporate the honey.
 Add one and a half cups of heavy cream.
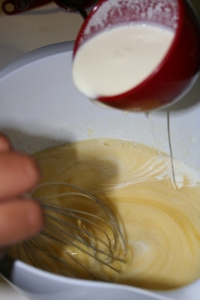 Now, add one and a half cups of milk.
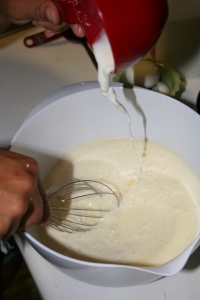 Stir until everything is well blended and homogenous. Assemble your ice cream maker, plug it in and add the base to the bowl.
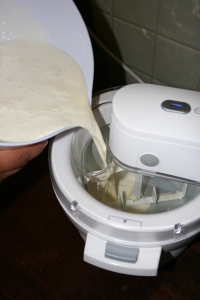 Freeze according to the manufacturer’s instructions, when the base is semi-frozen, add the pureed peaches to the bowl and continue to freeze for about five more minutes.
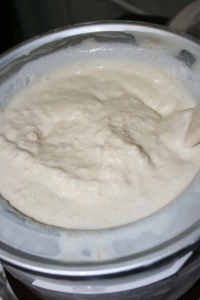
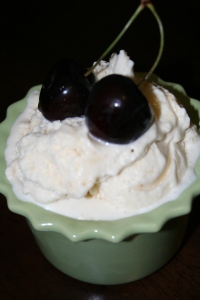
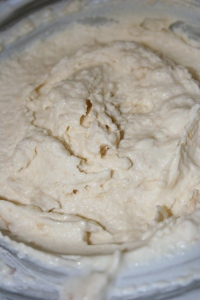 Please take a moment to relish in the sweet deliciousness of fresh summer peaches, local honey, and cream…ENJOY, with a cherry on top!


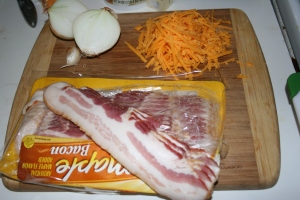
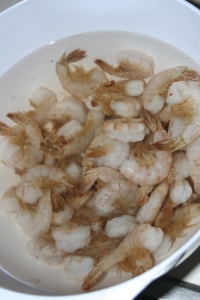
 If your shrimp are frozen, you can defrost them now. I do this by placing the frozen shrimp in a large bowl and covering with cool water. They defrost pretty quickly this way. Then you can peel them and pat dry.
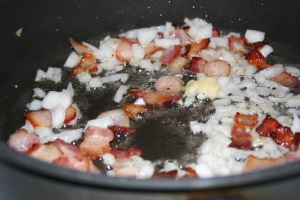
 While the grits cook, toss your shrimp into the skillet with the bacon.
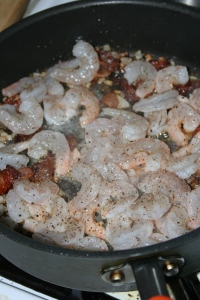
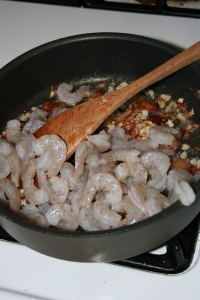 Season with salt and pepper.
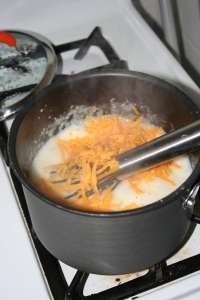
 When the grits are thickened and cooked according to the package, add a generous splash of milk.

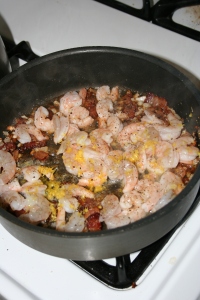 Now, the final step is to prepare the sauce.
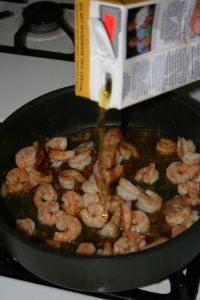
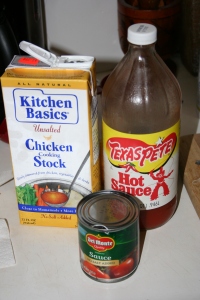 First, add a hefty glug of chicken stock and use a spoon to scrape up any brown bits and incorporate it into the sauce.
 Next, add in about an equal amount of tomato sauce.
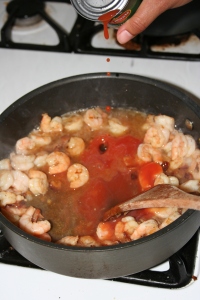 Then stream in hot sauce to taste.
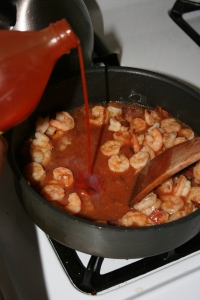 Stir it all up to combine and reduce the heat to low. Allow to simmer for another minute or so. While it simmers finely chop up a bit of fresh parsley. Now add a squeeze of fresh lemon juice.
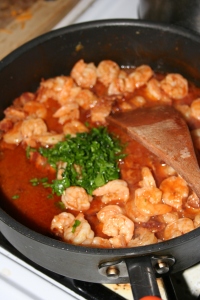
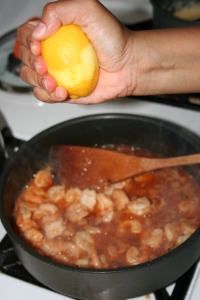 Remove from heat and stir in the fresh parsley.

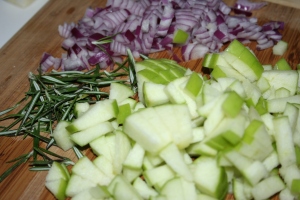
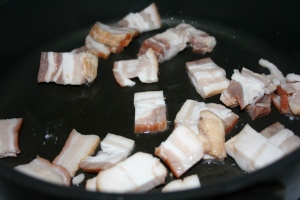 While the bacon cooks, finely chop onion, apple, and rosemary.
 Once the bacon is browned, drain off a little of the excess fat.
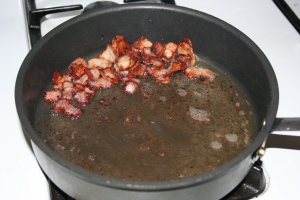 Then toss in the onions.
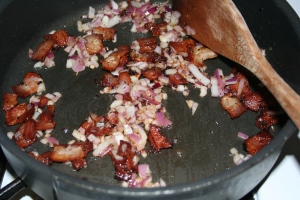 Once the onions begin to go translucent, add the apples, rosemary, and a little butter.
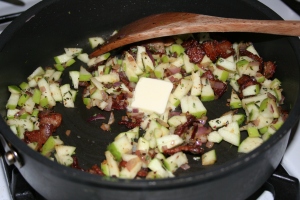 Now, stir it all up and allow to cook down for a few minutes. Then season with a little salt and pepper.
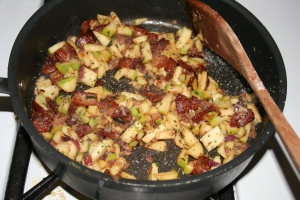 Turn the heat to low and allow to cook a few more minutes while you prep the chops. You can also preheat your oven to 400 degrees at this point. Place your chops on a cutting board and grab a sharp knife.
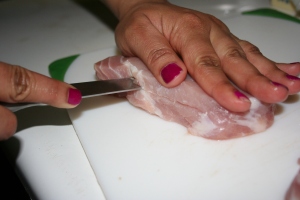
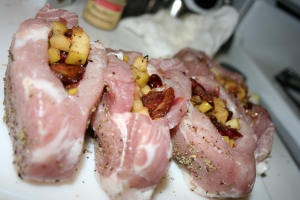
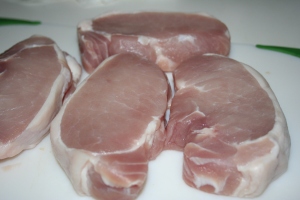 Now to create a pocket in the chops to stuff the filling in, press your hand flat down on the top of the chop and insert the tip of your knife into the side of the chop. Slice into the chop to create the pocket leaving about a 1/2 inch on each side. Do not let your knife go all the way through the chop.
 Here’s what the pocket should look like:
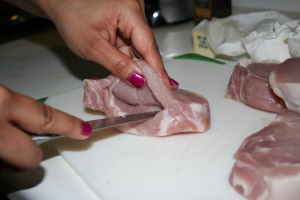 Repeat the process on each of your chops then liberally season the with salt, pepper, and poultry seasoning.
 Now, grab the chops one by one and spoon filling into the slit until it is just about flush with the edge of the chop. If you think you need to, you can use a toothpick to close up the opening, but this time around my filling was pretty secure.
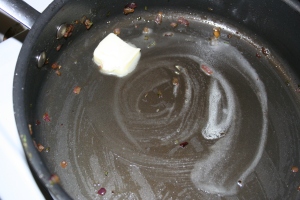
 In the same pan that you used for the filling, heat about a teaspoon of butter over medium-high.
 Add your porkchops to the pan. We just want to give them a golden brown crust.
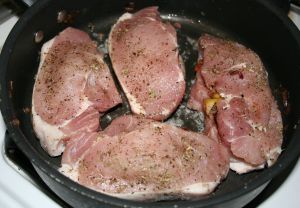 When the first side reaches desired color, flip ’em over and allow the second side to brown.
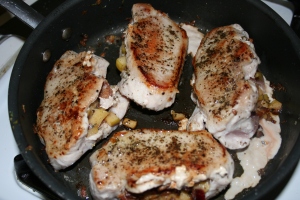 Once both sides are nicely browned, transfer the chops to a baking dish and pop in the oven.
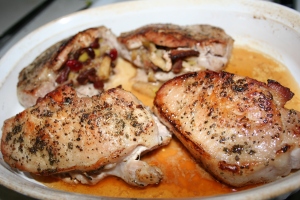
 They are probably only gonna need about 15 minutes in the oven, depending on the thickness of your chops. They should look like this when they are done:
 I served them up with creamy whipped potatoes. I happened to be low on fresh veggies this day, but any steamed green veggie would also be fabulous alongside.
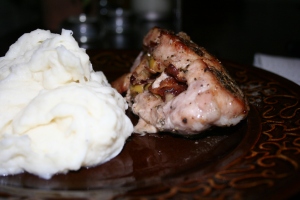 Enjoy!
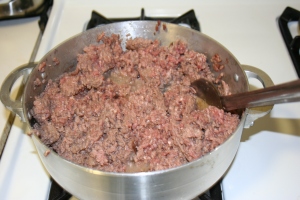 While the meat begins browning, chop some onion and add it to the pot.
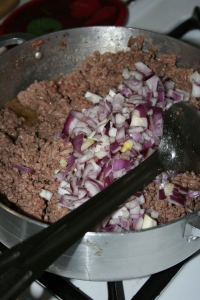 Stir it all up and allow to cook for a few minutes, then mince up some garlic and add it in.
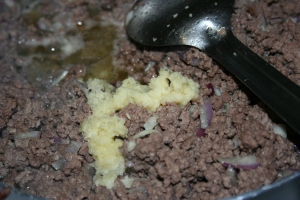 Stir to combine. Once the meat is browned, lower the heat to medium. While the meat continues to cook, you should defrost the spinach.
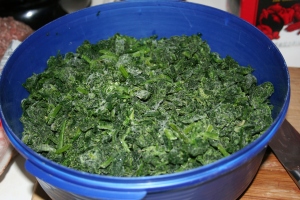 I do this by placing the spinach in a microwave safe bowl and heating on short (minute-long) intervals in the microwave and stirring it between each blast to ensure that it defrosts evenly. Once it is completely defrosted place on top of several layers of paper towels (you can use a kitchen towel, but I don’t have a washer, so paper towels work just fine), wrap the towels up around the spinach and squeeze out as much liquid as you can. You may have to repeat this process several times. I had a very large bag of spinach, so I had to do this in batches.
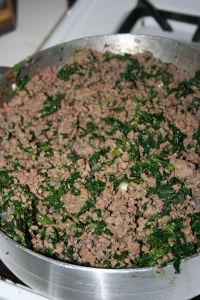
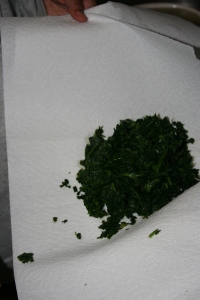 Now, you can toss the spinach in with the meat. Liberally season the meat mixture with salt, pepper, and Italian seasoning.
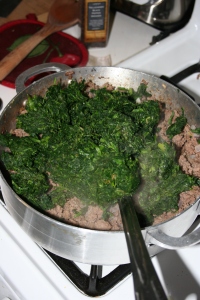
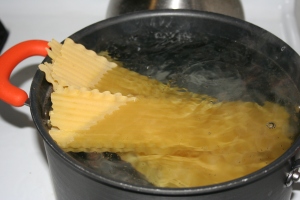
 At this point, you can bring your pasta water to a boil. For the amount of meat I made for the filling, I went through 3-4 boxes of lasagna noodles. Once the water comes to a boil, add a generous amount of kosher salt and add your pasta to the boiling water. Cook a little shy of al dente.
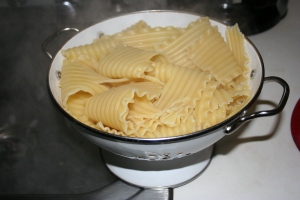 Now, here is when you’ll have to put your multi-tasking skills to the test. As your pasta cooks, you want to prepare the cream sauce that you will combine with the meat to complete the filling. Begin by heating a large pot over medium-low heat. Add butter and flour and combine to make a roux.
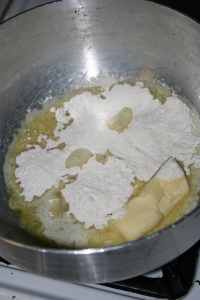 Allow the flour to cook, but keep a good eye on it. You don’t want the roux to pick up any color since we are making a bechamel, which requires a white or blonde roux. Season with salt and pepper.
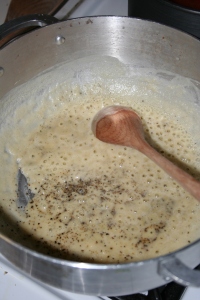 Add milk to the roux to reach desired consistency. You want the sauce to be pourable, but thick enough to coat the back of a spoon. If you think you’ve reached this stage, add a little more milk as it will thicken as it simmers and when you add the parmesan cheese.
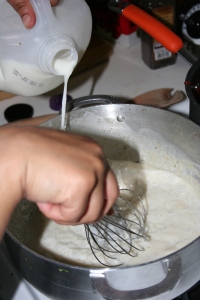 Allow to simmer and thicken for a few minutes, then add several handfuls of parmesan cheese.
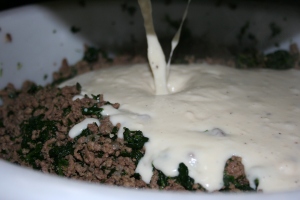
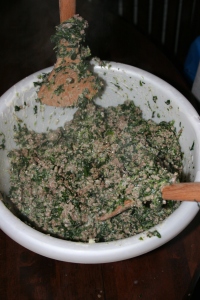
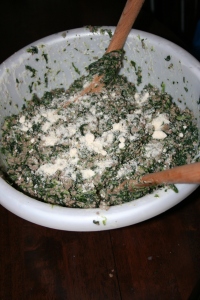
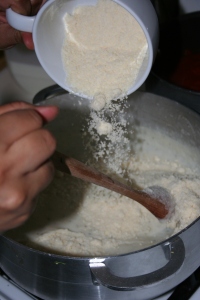 Stir to combine. Taste sauce to check seasoning. If you’re pleased, you can combine the meat mixture with the cheese sauce in a large bowl.
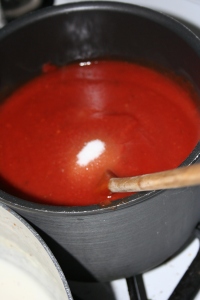
 In a small pot, combine tomatoes, a pinch of sugar, some salt and bring to a simmer.
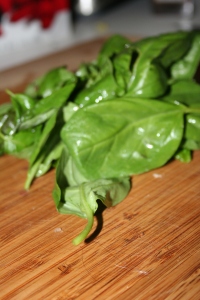
 Grab some fresh basil and finely slice into ribbons.
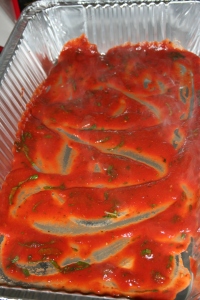
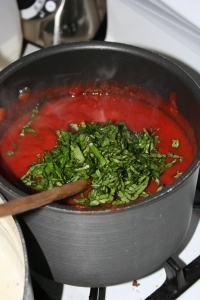 Spread a small amount of the tomato sauce in the bottom of your baking dish (I used a long disposable foil tray).
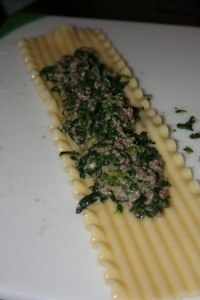
 One by one, lay each lasagna noodle on a flat surface and spread a small spoonful of filling down the center, vertically.
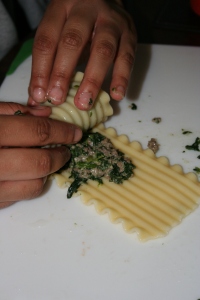 Place rolls in the foil pan in a single layer.
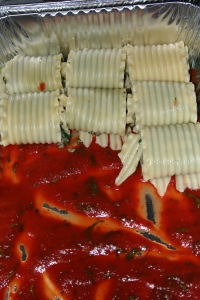
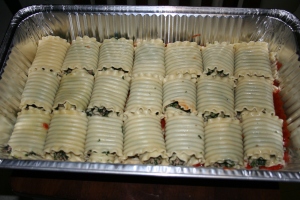 Cover with a generous, but not excessive, amount of sauce (you want enough sauce so that when you bake it off, the pasta will finish cooking in it).
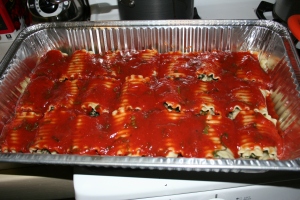 As I mentioned earlier, I forgot to snap a few pics, but at this point you should top with a healthy helping of shredded mozzarella cheese. You can bake the tray right away, or refrigerate or freeze it until ready to use. Bake at 400 degrees until heated through and cheese is melted and starting to brown. Hope you ENJOY…it’s really not as hard as it looks :).
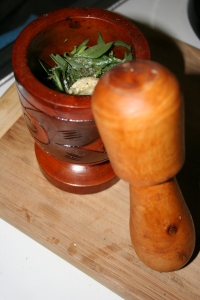
 Set aside and begin prepping your chicken. As usual, you want to clean off any excess fat and then you should split the breasts as demonstrated in my
 Mix everything up and set aside to marinate well you work on the other components. Now’s a good time to cook up your bacon. In the past year, I’ve discovered that I really like to cook bacon in the toaster oven when I have the time. The bacon doesn’t curl up and the scent doesn’t infiltrate your home so much. So that’s what I did hear. Depending on the thickness of the bacon, I usally cook it on 400 degrees for about 20 minutes, if the bacon is thinner, decrease the time.
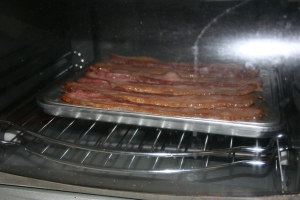 While the bacon cooks, heat a large skillet over medium-high heat and throw in your chicken.
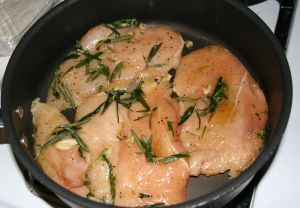 Sautee on both sides until nicely browned, add a couple tablespoons of butter, and sprinkle the whole thing with some flour.
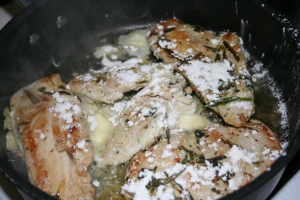 Toss everything around to work in the flour and allow it to cook out for a few minutes to lose the raw taste. Once a bit of a roux has formed and cooked up, add a few ounces of a tasty white wine.
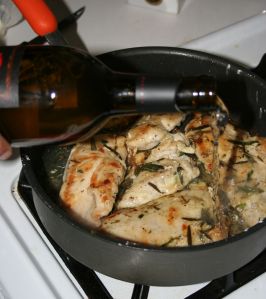 Bring to boil and let the alcohol cook out. This is important! If you don’t give the alcohol a few minutes to cook out, the sauce will curdle in the next step. Once it comes to a boil and simmers for a minute you can add in the cream.
 Stir to combine and allow to simmer so the sauce is thick enough to coat the chicken with a couple tablespoons leftover for drizzling. While the sauce thickens, cut the bread into 2-3 inch wide pieces, spread each side with a healthy amount of the cheese, and layer bacon on both sides.
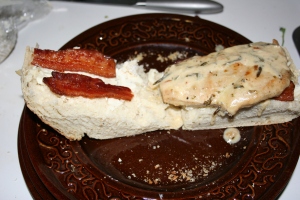
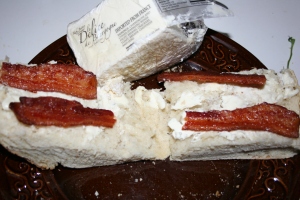 Once the chicken is cooked through and the sauce is nice and thick, place one breast portion on the bread and drizzle with a little more sauce.
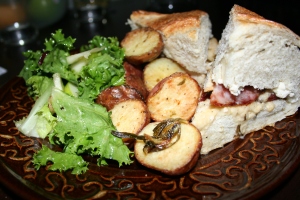
 To fancy it up a bit more, serve with a bistro salad of greens, dried fruit, and nuts and some roasted potatoes. Now, please, please, please ENJOY the creamy, bacony goodness!

 While I truly enjoyed both cheeses, the Dubliner was really the stand out for me. It almost has the texture of parmesan crossed with cheddar and is fantastic for grating over almost anything and dreamy as a snack. It has a very distinctive, tangy yet nutty flavor that really is a party for your tastebuds. It’s sophisticated on the palate, but not so much so that it’s overwhelming just sliced and eaten on a cracker. Yeah, I’d really like some right now…but, I’m all out. I think I’ll be using my second set of coupons pretty soon. You really should check out Kerrygold’s website to learn more about their other cheeses and find out where you can pick some up. If you’re a true cheese lover, a little effort will be worth it. Go eat some cheese…NOW, and ENJOY!
